9 April 2020

You have probably already published one or two food posts on Instagram or seduced your followers in your stories with a huge burger or a delicious piece of cake. If you have noticed that photos of food, recipes, and food, in general, are well received by your followers, now is the right time to delve deeper into the topic of food photography! We have collected the most important tips for aspiring food bloggers for you.
Beautifully photographed food makes almost everyone go weak. Instagram alone has more than 250 million posts for the hashtag #foodporn (as of April 2021) and new ones are added every day. Famous influencers like Pamela Reif are leading the way: She now has an extra food account on Instagram where she only posts food photos.
Collect inspiration for your own #foodporn
If you have decided to start posting food content on your Instagram feed or your stories on a regular basis, you should first consider which direction it should go. What do you like to look at for inspiration? What do you like about the photos: bright colours or rather pastel ones? Do you like minimalist white dishes or are you a fan of colourfully decorated plates? Perhaps many of the photos appeal to you because of their unusual perspectives or special lighting conditions. You should not try to recreate pictures, but a few suggestions will help you prepare and come up with ideas.
Speaking of preparation: Ideally, when you take your first steps as a food blogger, you shouldn´t venture into wild escapades with complicated dishes. Focus on recipes that you have already tried out. If not, we recommend that you try cooking or baking the dishes beforehand.
Food photos made easy: the best food for aspiring food bloggers
Don’t do too much to at the beginning. First, cook an elaborate dish, then take photos, then finally clean up everything and edit the pictures? This can be quite difficult and you end up feeling unnecessarily frustrated.
Therefore, it is best to start small: cakes, desserts, or smoothies. Something that already looks slightly unappetising, like your morning overnight oats, is not the best way to get started with food photography. Any dish that is more monochromatic is a good place to start. Bowls and salads thrown together are a bit more challenging.
Biscuits, cookies, brownies, and similar treats give you the advantage to prepare at any time and photograph later. You can even bake them in the evening and take photos the next day in better light conditions. Cookies and the like also last longer than, for example, a salad that wilts quickly. 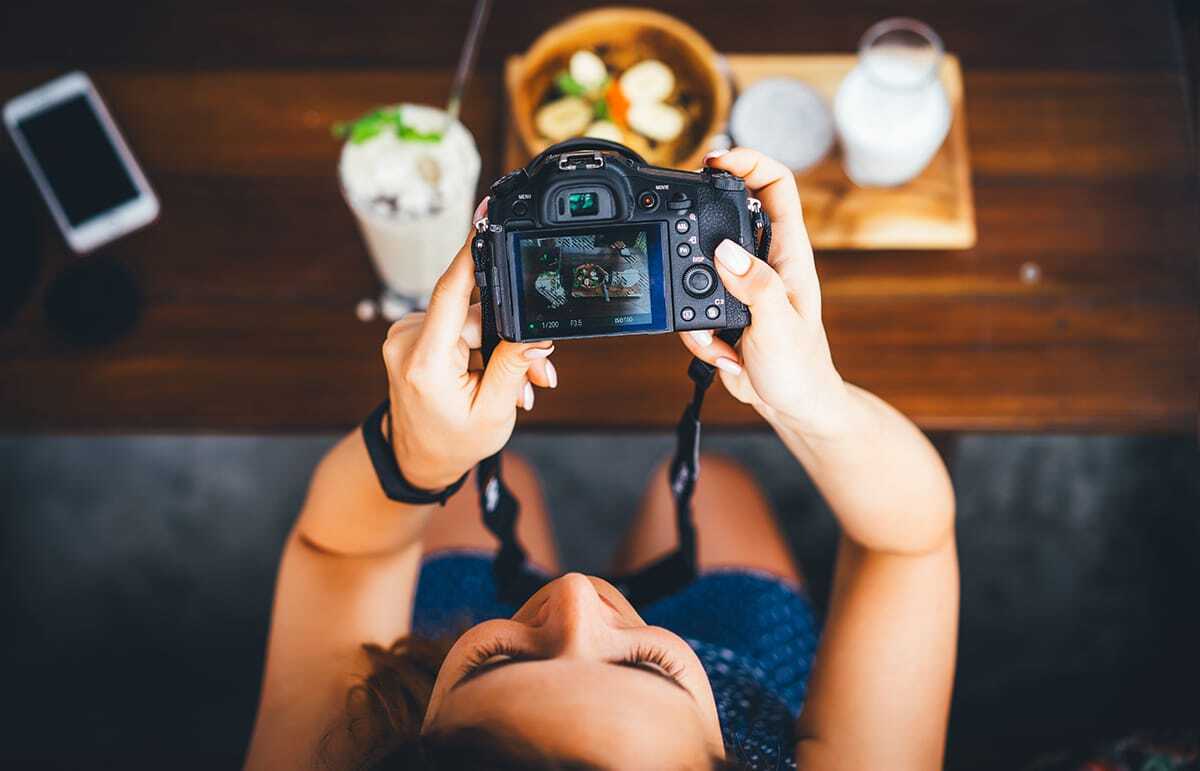
Something certain: decoration for food photos
Decorate the plate with ingredients that are included in the food before taking photos. For example, you can decorate a plate of brownies with hazelnuts and chocolate chips. If you’re photographing a smoothie, you can stick a strawberry on a glass straw.
Lighting for food photos: Daylight is a must
Daylight is ideal for making food look particularly tasty. It is best to take your pictures by the window or even outside. However, you should be careful not to take photos in the blazing sun, as this will cause ugly cast shadows. A slightly overcast sky is perfect—it is bright enough. If you have to use artificial light, use only one light temperature at a time. For example, mixing warm, yellowish lighting and cool white light will distort the colour of your dishes. The light that is too cool makes your food photos look bluish and unappetising. Instead, go for warm light without any colour cast.
Image editing as a food blogger
To save yourself some of the post-processing, it is advisable to set the white balance on your camera in advance. This way you will achieve consistent colour in your pictures and your feed will look uniform. Besides, colour shifts can occur if you only adjust the values during image processing, and the food often looks unappetising.
Speaking of editing: We recommend that you always use a good camera instead of your smartphone. Even if you have a good mobile phone and lots of daylight, your options are limited when it comes to post-processing.
Become a part of stylink!
Our community grows every day – become part of our unique network too! You will be paid out immediately upon request. Register with stylink easily and free of charge.
REGISTER NOW
Get the right angle for food photos
The bird’s eye view rarely makes sense for food photos. In some situations, however, it can be a good idea to get up on a chair and hold the camera from above. For example, when you want to show the entire arrangement from above, like when baking. You can shoot the work surface from above and adorn glasses with sugar, flour, ingredients such as chocolate, nuts, or fruit. In addition, you can dust the work surface with flour and add lovely tea towels and other matching utensils.
When taking a single shot of a piece of chocolate brownie, the brownie will look flat and not particularly appealing if you only photograph it from above. The texture is lost, you cannot see how moist the batter is. If, on the other hand, you show the brownie from the side and have already taken a bite, your followers can immediately see how the batter looks and how thick the brownies will be.
The basic rule for you as a food blogger is to test different angles and perspectives and decide at the end.
The background: Highlighting instead of distracting
A coherent background with matching accessories is important—but the setting should not distract from the food. On the other hand, it is better not to rely on an exclusively white background, because that looks boring. Wooden plates, trays, and tables are great. The wood does not necessarily have to be natural; white or dark varnished wooden surfaces can also provide a nice contrast to the food. Take a look around to see what you can work with, maybe an old fruit crate or the rough concrete floor in the courtyard. Otherwise, it is worth making a background out of some old boards or asking for old crates at the market.
Different tablecloths, crockery, and cutlery offer variety for your food photos. Wooden bowls and plants create tropical vibes, for example, if you want to photograph your homemade nice cream. For a rustic pumpkin pie, grandma’s decadent silver cutlery is definitely the right choice. A black slate plate is also a great background for autumnal and winter dishes.
Once you have incorporated all the tips into your shootings, you will be well equipped to get started as a food blogger. It’s also a great way to spice up your content during lockdown, or more quiet time, in general. Read more about this and find more inspiration in our blog article. And now have fun trying things out and taking photos—and of course, eating!
You are curious?
Sign up with stylink easily and free of charge. Our affiliate platform offers you the opportunity to earn money with your content - with instant payout if you wish. We are looking forward to welcoming you!
register now
Follow us on: 

